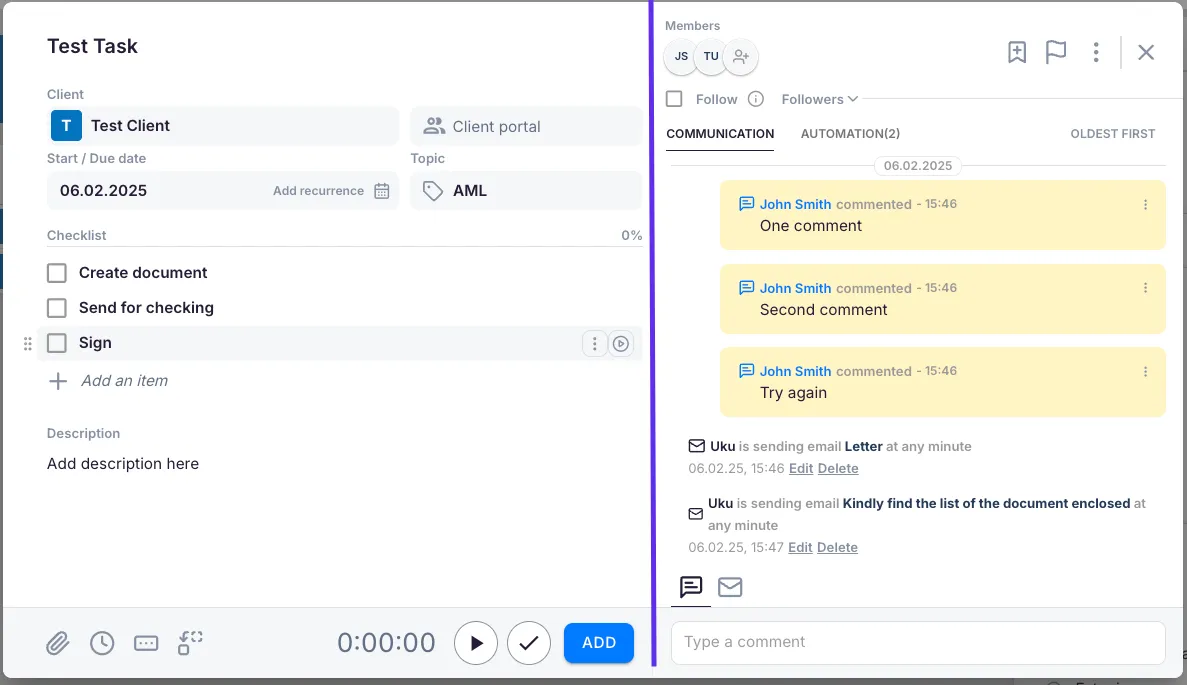
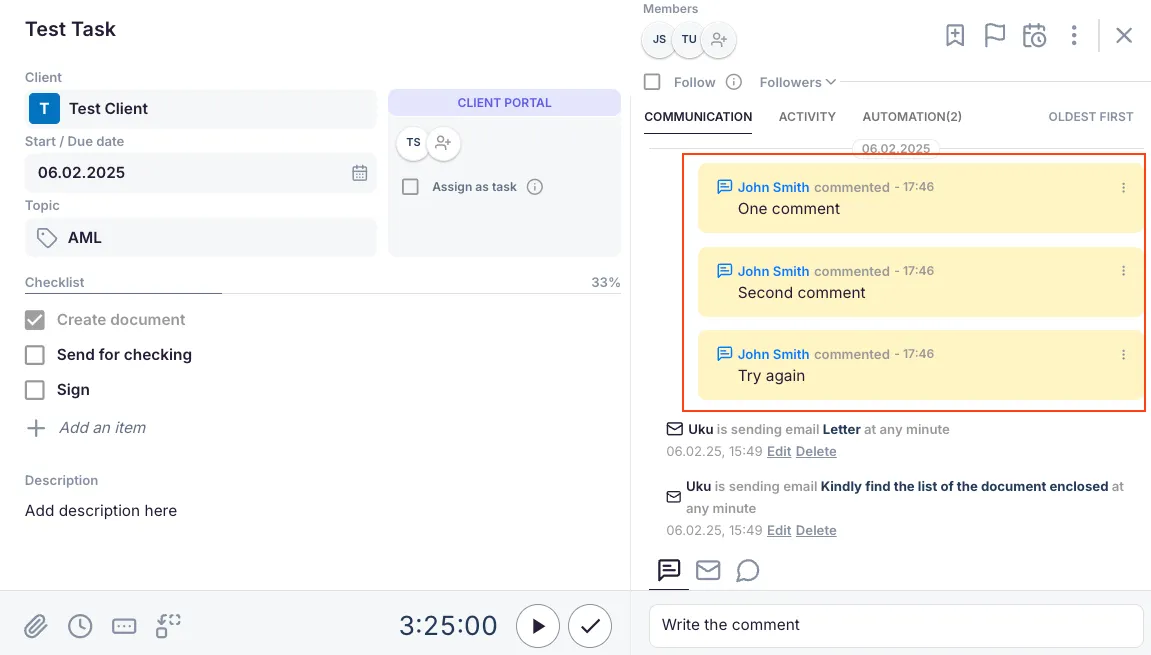
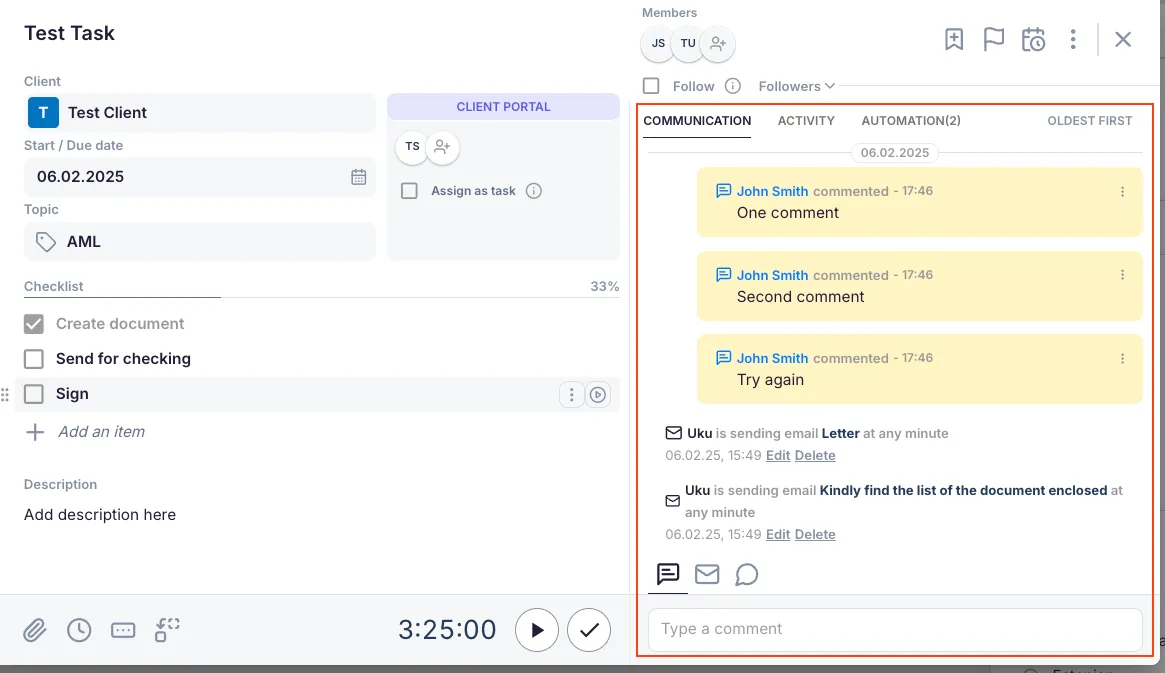
Opening a task in Uku shows two panels side by side: Task Content on the left for managing all task details, and Communication on the right for emails, comments, and Client Portal messages.
Who can do this
Section titled “Who can do this”- Any team member with access to the task can view the task view.
- Editing task details requires being assigned to the task or having Company Admin or Company Owner rights.
- Client Portal features require the Client Portal to be activated for the client.
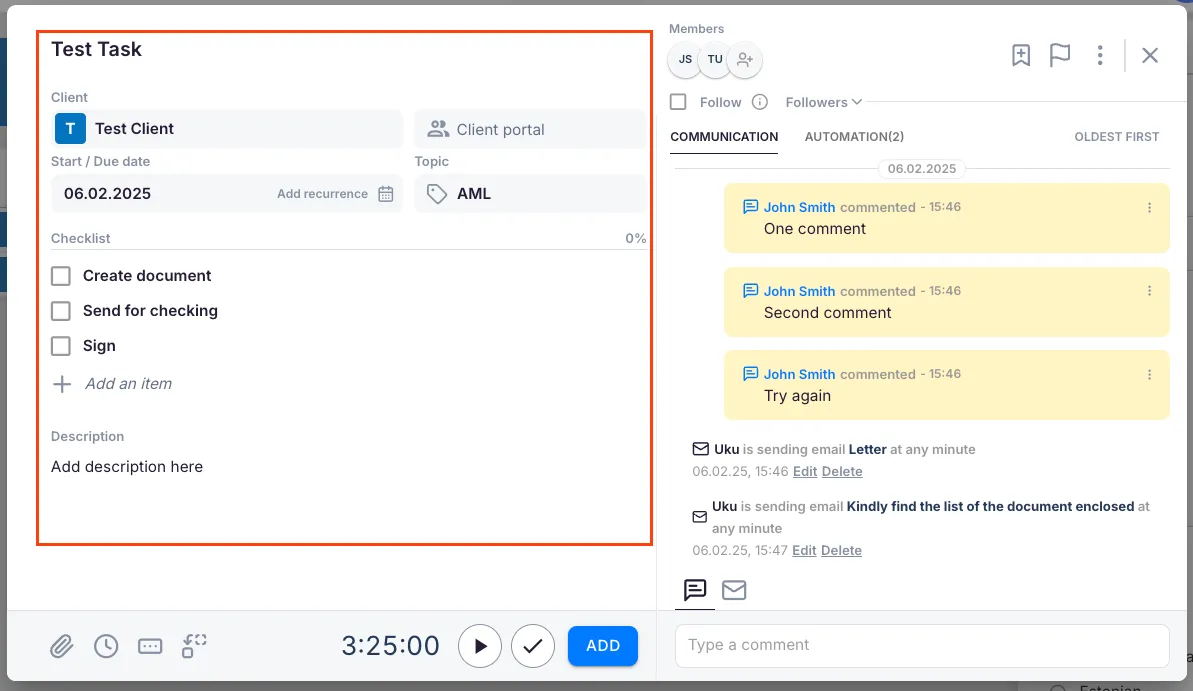
Task Content panel
Section titled “Task Content panel”Task title and template
Section titled “Task title and template”Enter the task title or choose a task template to pre-fill common fields.

Assigning members and followers
Section titled “Assigning members and followers”In the task header, select the member(s) responsible for completing the task. Add followers if others need to monitor progress without being assigned.

Task options
Section titled “Task options”From the task header or three-dot menu, mark the task as:
- Extra work
- Important (flag icon)
- Snoozed (postpone the due date)
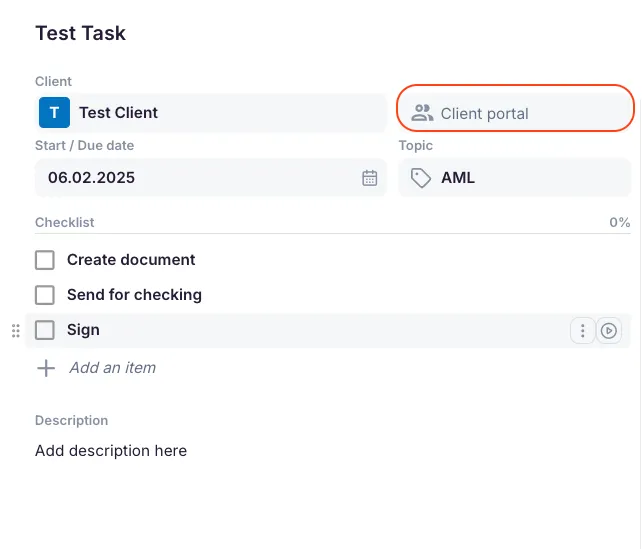
Client and topic
Section titled “Client and topic”Select the client and task topic. If the Client Portal is activated for the client, you can also choose to send the task there.
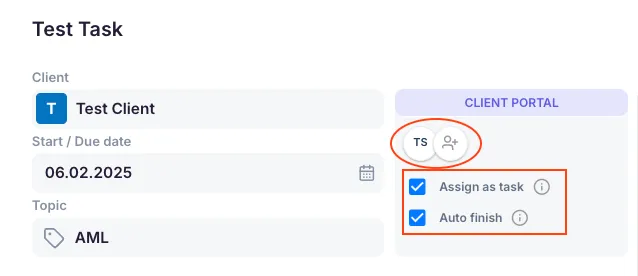
Client Portal task settings
Section titled “Client Portal task settings”If the task is sent to the Client Portal, the portal fields appear automatically:
- Select the contact person to whom the portal task is assigned.
- The Assign as task checkbox is selected by default — this makes the task visible in the Client Portal and sends an email notification to the client.
- Choose whether the task should automatically be marked as done when the contact completes it.
Checklist and description
Section titled “Checklist and description”- Add a checklist to track progress step by step. A percentage indicator shows how many items are completed.
- Add a description to provide more context about the task.

Additional fields
Section titled “Additional fields”- Attachments — files attached to the task.
- Time estimates — expected time to complete the task.
- Custom fields — any company-configured fields enabled for this task.
- Dependencies — links to other tasks that must be completed first.

Time management
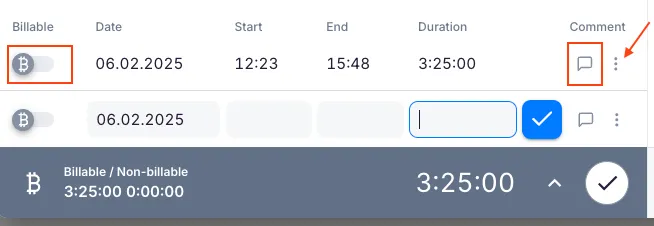
Section titled “Time management”Click the time icon to open the time entry window. From here you can:
- Mark whether the time entry is billable.
- Add a comment to the time entry.
- Adjust previously recorded time or add new entries.
- Delete a time entry from the three-dot menu.
- Specify whether the time was for remote work or office hours.
Communication panel
Section titled “Communication panel”The Communication panel displays all task-related messages. Use the tab menu to switch between:
- Communication history and emails
- Activity history
- Sorted communication history
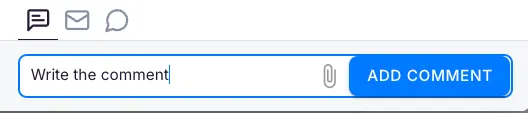
Adding a comment
Section titled “Adding a comment”- Click the comment icon.
- Enter your comment and click Add. Comments appear in the communication panel with a yellow background.
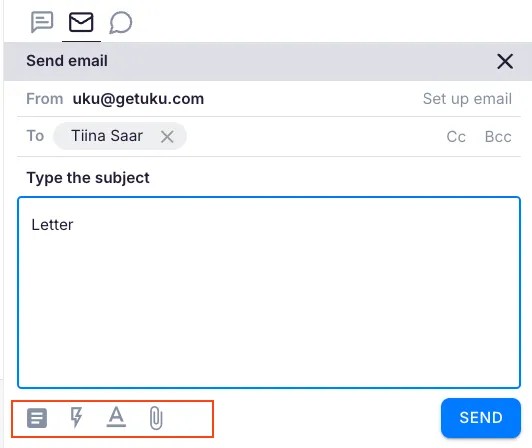
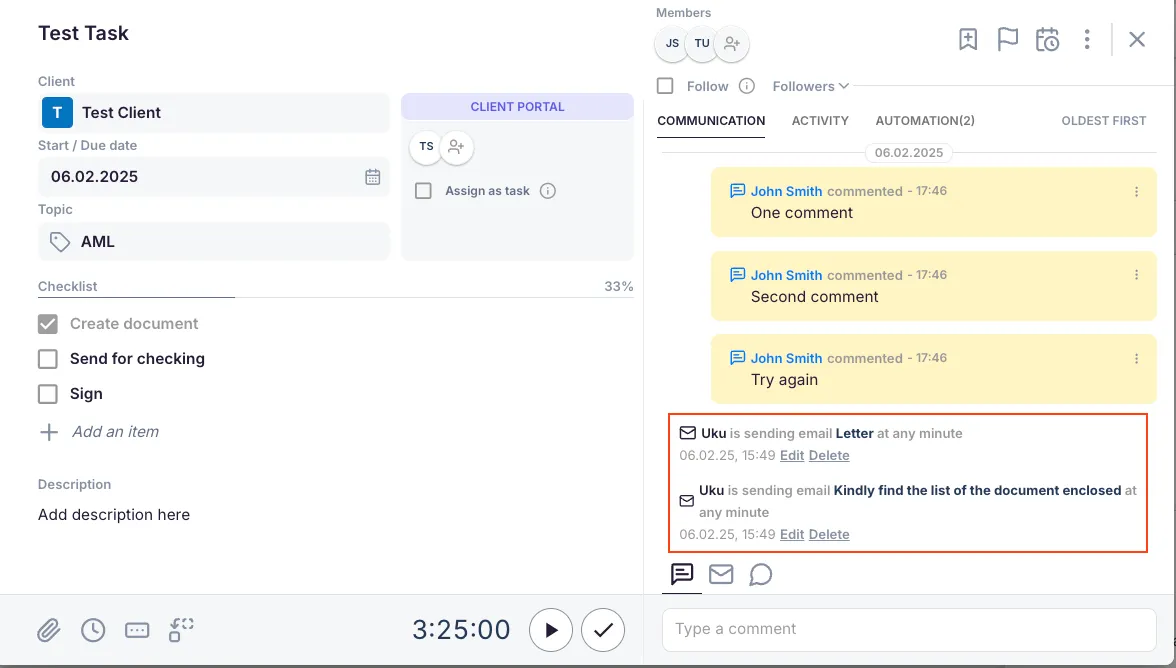
Sending an email
Section titled “Sending an email”- Click the email icon to open the email window.
- Specify the recipient, subject, and content.
- Use toolbar icons to add a template, enable automation, attach files, or format text.
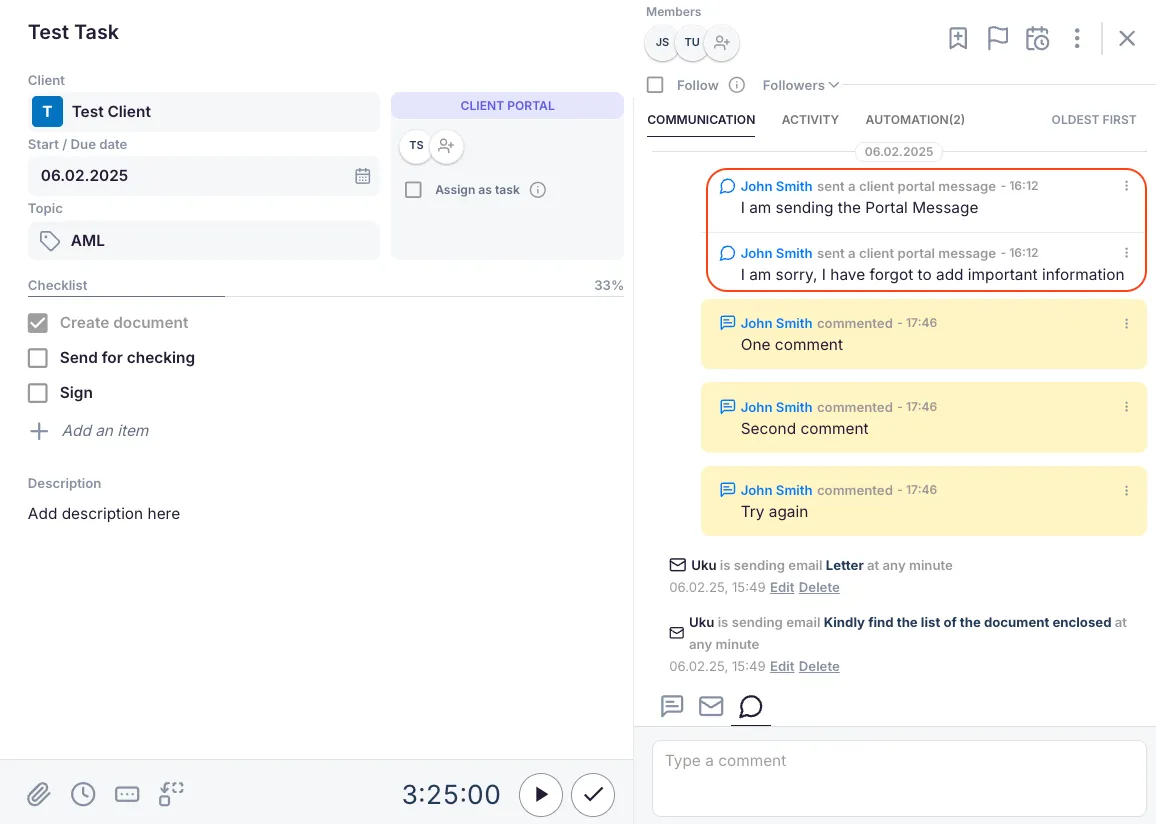
Sending a Client Portal message
Section titled “Sending a Client Portal message”- Click the Client Portal icon.
- Enter your message and click Send Portal Message.
Troubleshooting
Section titled “Troubleshooting”Client Portal fields do not appear when creating a task
Section titled “Client Portal fields do not appear when creating a task”The Client Portal must be activated for the client before portal-specific fields become available. Check the client’s portal settings.
Cannot see communication history for a task
Section titled “Cannot see communication history for a task”Ensure you are viewing the Communication panel and have selected the correct tab (communication history vs. activity history).
Timer does not start or time is not being recorded
Section titled “Timer does not start or time is not being recorded”Confirm that you have clicked the timer control and not just the time icon. If time was entered manually, check the time icon to verify entries were saved.
Emails sent from the task are not received by the client
Section titled “Emails sent from the task are not received by the client”Verify the recipient email address is correct. Check the communication panel for delivery status indicators. Ensure your email integration is properly configured in Settings & Apps.