Who can do this
Section titled “Who can do this”- Company Admins and Company Owners can create, edit, archive, and delete custom field definitions.
- All team members can fill in field values on client and contact records.
What custom fields are for
Section titled “What custom fields are for”Standard client records have a fixed set of built-in fields — name, country, registration code, and so on. Custom fields let you add any additional data that matters to your practice without resorting to notes or external spreadsheets. Examples:
- Client fields: tax registration number, compliance review date, preferred language, client tier, AML risk profile.
- Contact fields: LinkedIn URL, preferred communication method, birthday, national ID number.
Available field types
Section titled “Available field types”Both client and contact custom fields support the same full range of types:
| Type | Description |
|---|---|
| Text | Single-line text input |
| Multiline text | Large text area for longer notes |
| Number | Decimal number |
| Integer | Whole number |
| Yes/No | Checkbox (boolean) |
| Date | Date picker |
| Choice | Single-select dropdown |
| Multiple choice | Multi-select dropdown |
| URL | Clickable web link |
| User | Select one team member |
| Multiple users | Select multiple team members |
| Password | Masked password field |
Setting up client custom fields
Section titled “Setting up client custom fields”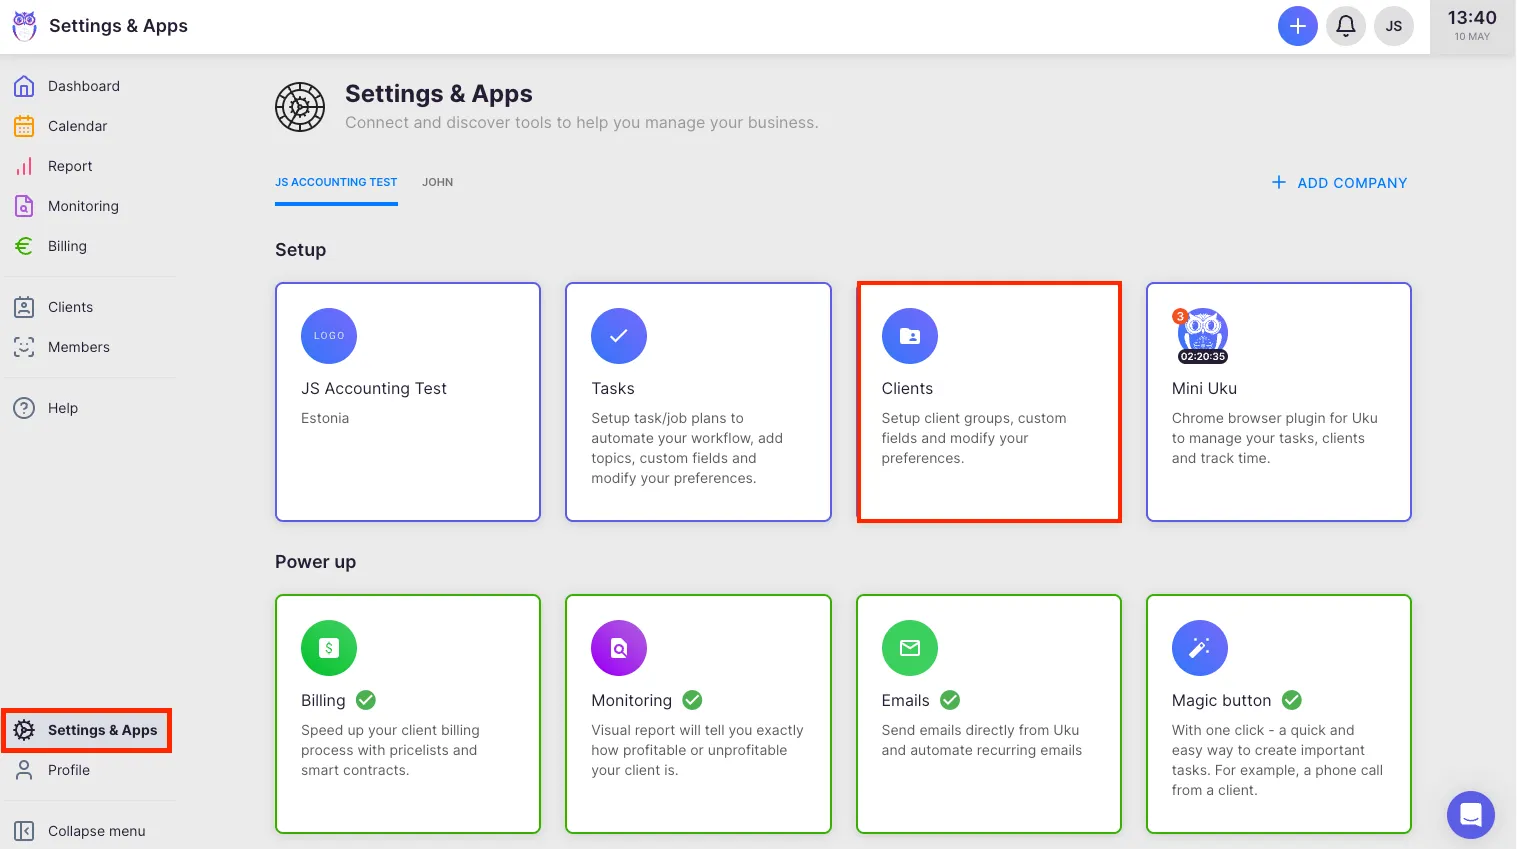
- Go to Settings & Apps and open the Client App.
- Go to the Client Fields tab.
- Click Add (or Add field in the inline editor).
- Set the Title and Field type. The field type cannot be changed after saving.
- For Choice and Multiple choice fields, enter each option on a separate line. Use the format
code: Display namefor separate internal codes and labels, or just type the display name. - Set any additional options (Required, Visible, Section assignment) as needed.
- Click Save.
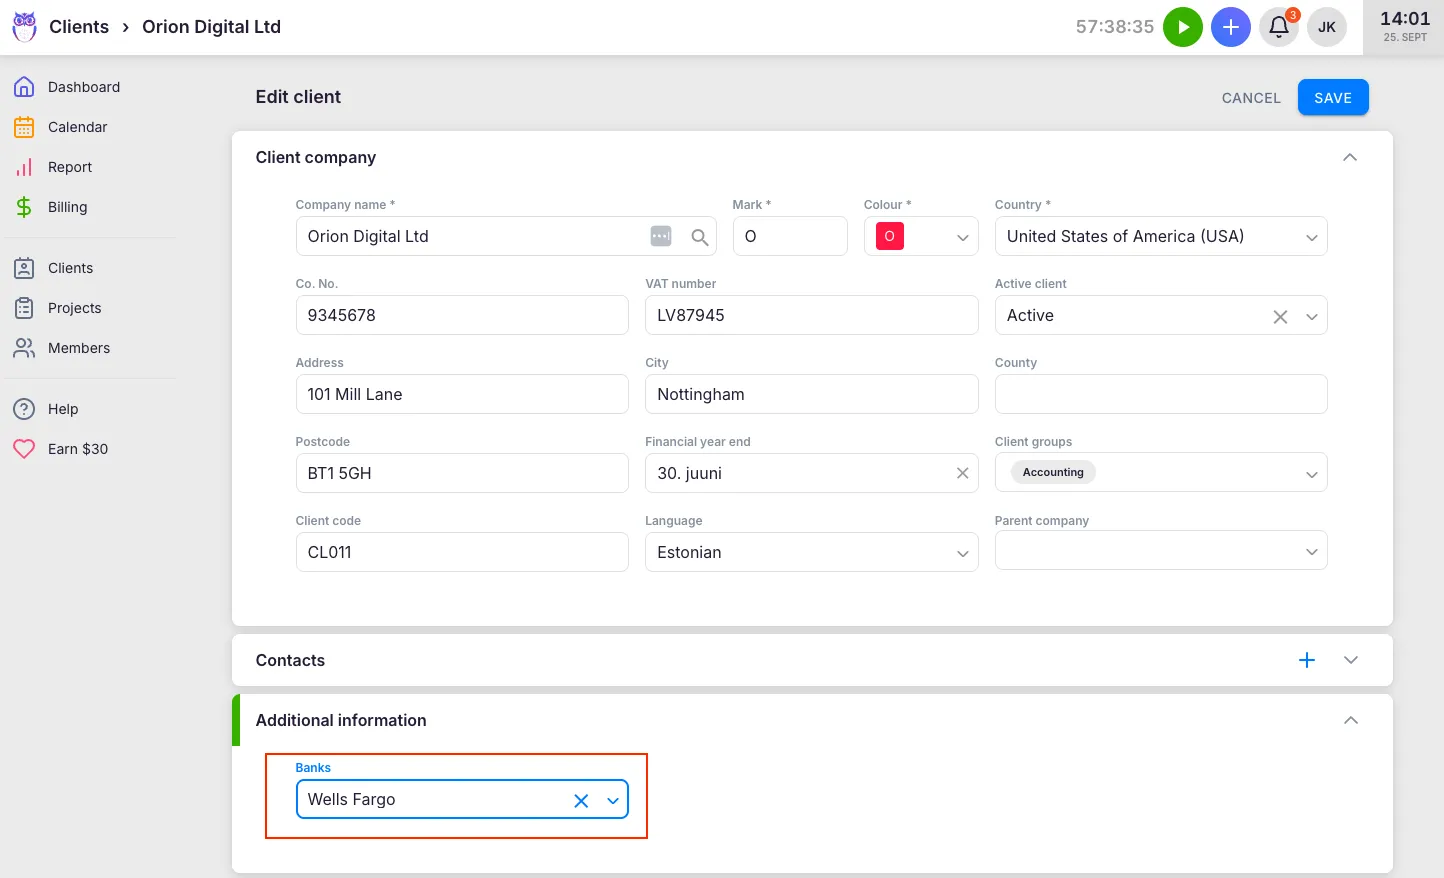
Client fields appear in the client edit form, grouped into sections. Sections let you organise related fields under a shared panel heading (for example, “Tax information” or “Compliance dates”). Add a section from the field editor and assign fields to it. Drag fields to reorder them, then click Save after making changes.
Setting up contact custom fields
Section titled “Setting up contact custom fields”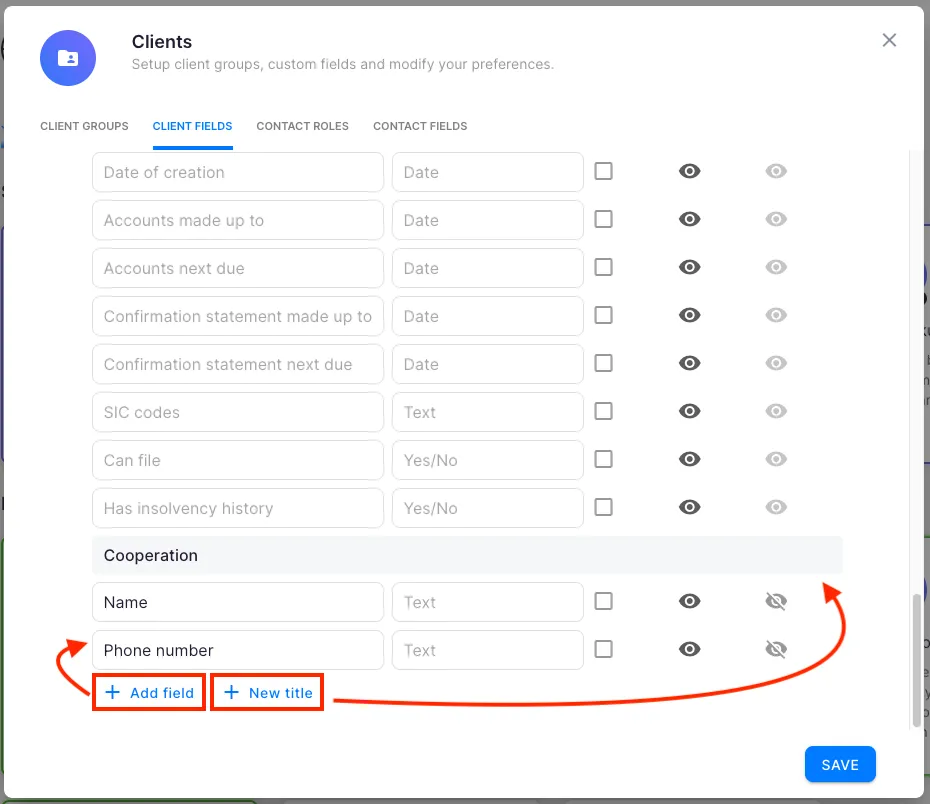
- Go to Settings & Apps → Client App → Contact Fields tab.
- Follow the same process as for client fields.
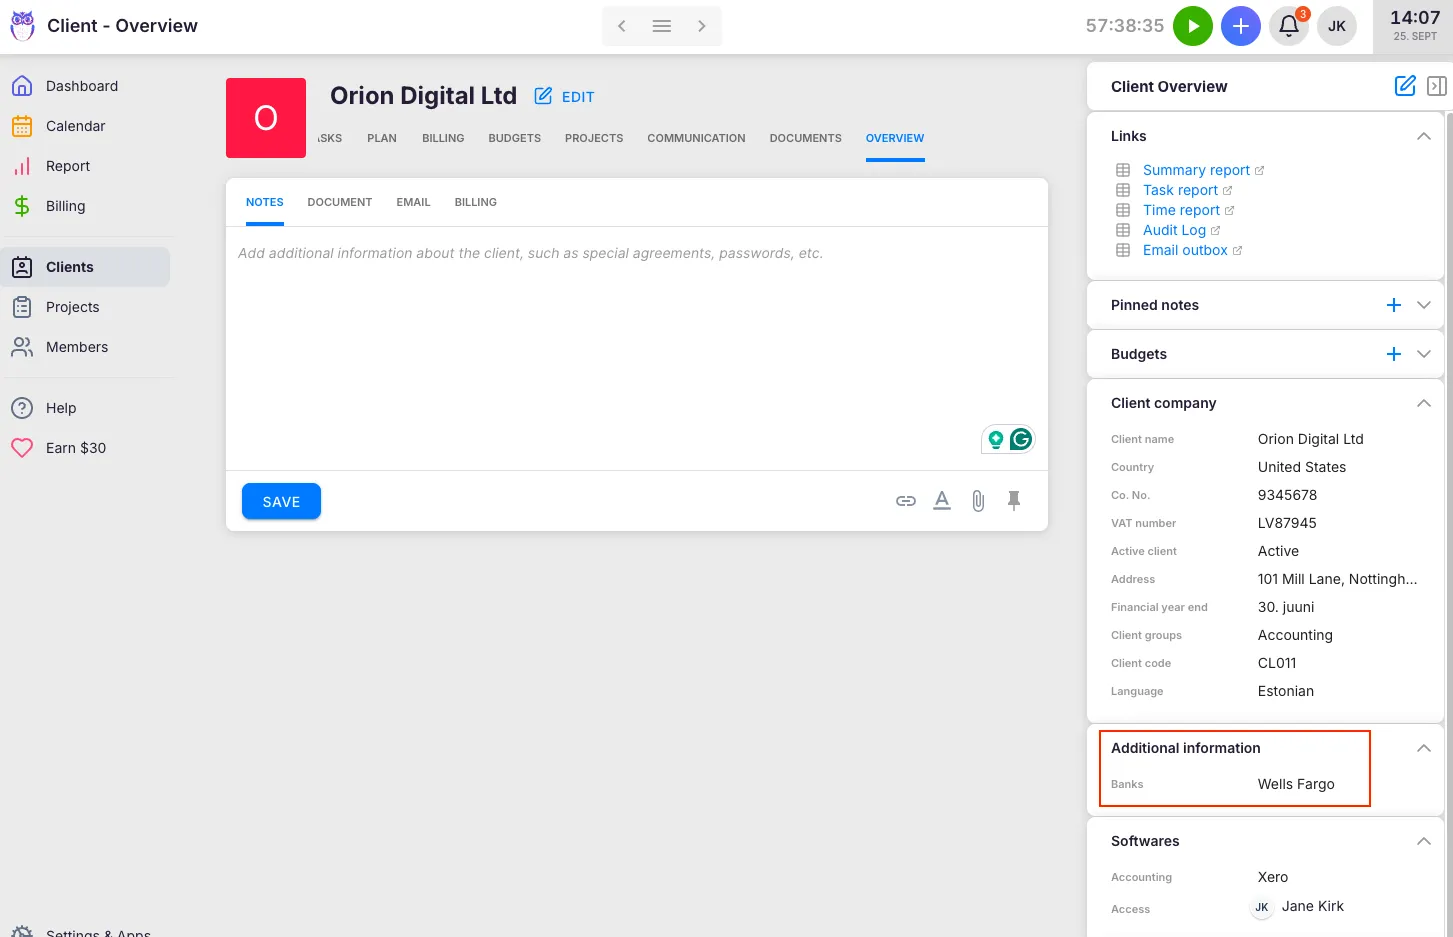
Contact fields appear on individual contact records within a client. The available field types and editor are identical to client fields, except contacts do not use sections — all contact fields appear in a flat list.
Required fields
Section titled “Required fields”Mark a field as Required to ensure it is always filled in before a client or contact record can be saved. Required fields are highlighted on the form until a value is entered.
Using fields as list columns and filters
Section titled “Using fields as list columns and filters”Custom client fields are available as optional columns in the client list. Use the column properties button to show or hide them. Most field types can also be used as filter criteria in the client list filter bar. Filterable types include: Yes/No, Integer, Number, Text, Choice, Multiple choice, User, Multiple users, and Date.
Archiving and deleting fields
Section titled “Archiving and deleting fields”- Open the field in the editor and click Delete (or Archive).
- If the field has no values on any record, it is permanently deleted.
- If the field is in use, Uku prompts you to Archive it instead. Archived fields are hidden from forms and excluded from new records, but all existing values are preserved.
To restore an archived field, click View archive at the bottom of the custom fields tab, select the field, and click Restore.
- Plan field types before creating — the field type is locked after saving. If you need a different type, archive the old field and create a new one.
- Use Choice codes for integrations — when you need stable internal codes for accounting integrations or API use, apply the
code: Display nameformat. - Use sections for client fields — as your field count grows, sections keep the client form readable. Group by theme: “Tax details”, “Compliance dates”, “Billing preferences”.
- AML fields are auto-generated — when the AML app is enabled, Uku automatically adds a set of AML-specific client fields. Do not rename or delete them — the automated reminder logic depends on them.
Troubleshooting
Section titled “Troubleshooting”A new custom field is not appearing on client records
Section titled “A new custom field is not appearing on client records”After creating a field, navigate to a client’s edit form and refresh the page if needed. If the field still does not appear, check that it is set to Visible in the field editor. Hidden fields are created but not shown on forms.
I cannot change a field type after saving
Section titled “I cannot change a field type after saving”The field type is locked after the first save to preserve data integrity. To change the type, archive the existing field (to preserve any values on records) and create a new field with the correct type.
I need to remove a field but it says it is in use
Section titled “I need to remove a field but it says it is in use”When a field has values on existing records, Uku prevents permanent deletion to avoid data loss. Use Archive instead — the field disappears from forms and is excluded from new records, but the existing values are preserved and can be seen in reports. You can restore the field later from the archive view.