Single (one-time) tasks use a simple calendar-based due date. For recurring tasks, the due date is part of the recurrence pattern itself — refer to the recurring tasks guide for monthly, quarterly, and annual due-date rules.
Who can do this
Section titled “Who can do this”- Any team member with permission to create or edit tasks.
Setting a due date for a single task
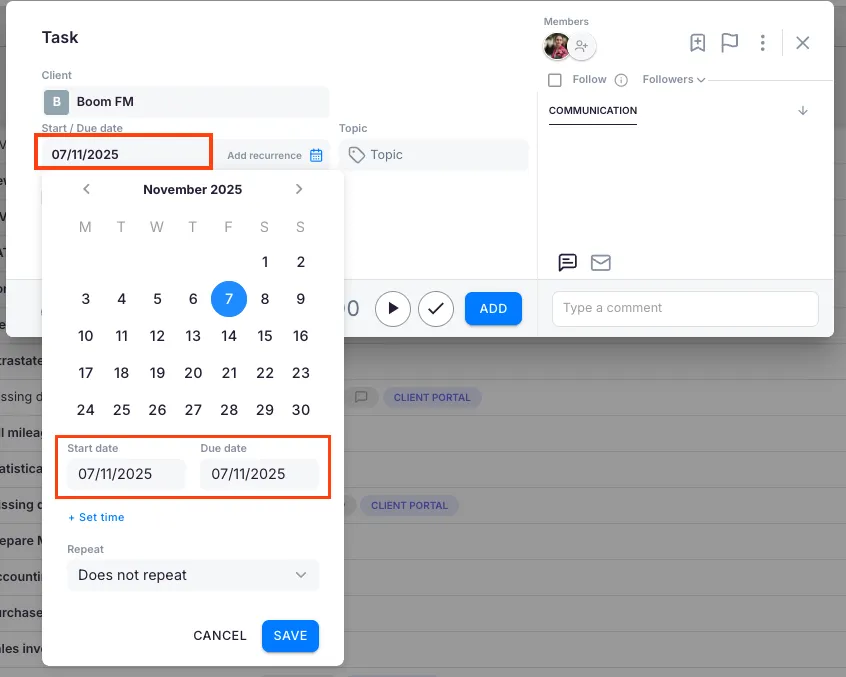
Section titled “Setting a due date for a single task”- Create a new task or open an existing one.
- Click the Due date field.
- Select a date from the calendar (or type the date manually).
- Optionally add a specific time for the deadline.
- Save the task.
Recurring tasks — see the recurrence guide
Section titled “Recurring tasks — see the recurrence guide”For recurring tasks, the due date depends on the recurrence type (monthly, quarterly, weekly, yearly) and is configured alongside the recurrence pattern. Specific date vs. plus-days calculations, weekend/holiday handling, and recurrence end dates are all covered in How to set up and manage recurring tasks.
Troubleshooting
Section titled “Troubleshooting”Cannot set a due date
Section titled “Cannot set a due date”Confirm you have edit permission on the task. If the task is assigned to a project that has been archived or cancelled, the due date may be locked.
Due date not appearing on the dashboard
Section titled “Due date not appearing on the dashboard”The task appears on its start date, not its due date. Open the dashboard date filter and ensure the range covers the task’s start date.
Need to push a deadline back
Section titled “Need to push a deadline back”If the task is single (non-recurring), simply edit the Due date field. For multiple tasks at once, see How to postpone tasks.